Want your indoor plant to thrive?
It needs the right growing medium, watering and fertilizing, and space to grow. Unlike plants in the garden, your indoor plant relies on you for all of these.
Let’s look at how to plant indoor plants and specifically potting and repotting. We will cover what supplies you need and show you a step by step approach to potting your indoor plants.
This is essentially indoor gardening 101: how to plant indoor plants.
Potting or repotting indoor plants sounds tricky and complicated but it is actually super easy! With the indoor gardening right tools and a step by step guide you will learn how to plant indoor plants. In fact, you will be potting and repotting indoor plants like a master in no time.
Sick and tired of the same pots and décor?
Get creative – this is also an opportunity to change up the design of the pot even change the décor of your home.
Want to watch a video that demonstrates how to plant indoor plants. This YouTube video How to pot plants by The Sill is simple and shows each step. Our indoor gardening 101: how to plant indoor plants guide uses this video to provide the step by step images of how to pot or repot your indoor plant.
What is repotting?
Simply, repotting is a periodic maintenance activity that gives your indoor plant more room to grow by:
- putting your indoor plant into a larger pot, or
- replacing some of the soil in your plant’s current pot
Strangely, repotting doesn’t always mean a new or bigger pot. Some indoor plants simply need some of their soil replenished to provide new nutrients which in turn will help it grow and stay healthy.
When is it time to repot?
Generally, indoor plants need to be repotted every 12 – 18 months.
However, this depends on how fast your indoor plant grows. Succulents, as an example, are slow growing, and will require a soil change but not necessarily a larger pot. While tropical plants, tend to grow quicker and will require a soil change and a larger pot.
Repotting, as gentle as your fingers might be, is a stressful time for an indoor plant. Therefore, the best time to repot your indoor plant is in early spring before your plant begins growing.
Are there signs that your indoor plant needs repotting? Absolutely. If you see any of the following, then it is time to consider repotting:
- roots are dangling out the drainage holes of the pot or the bottom of the pot is bulging
- roots are pushing the plant up in the pot
- stems, stalks and foliage coming out of the soil are taking up more than three quarters of the surface of the soil
- crusty soil on the surface of the pot
- soil is drying out quicker than normal
- your plant seems very top heavy or falls over easily
- your plant’s growth has slowed (excluding during period of dormancy – winter, etc)
Sometimes, you can get a sneaky peak of what is going on inside the pot.
Carefully, place your flattened and open palm over the soil in the pot with the main stems between your fingers. Turn your plant on its side or partially upside down while keeping your hand in place. Tap the rim of the pot on something like the edge of a bench.
Typically, if you do this, your indoor plant will come loose in the pot. You can then ease it out of the pot and examine the soil and roots. If the roots are a maze and starting to wind tightly around and around the inside of the pot, or if there are more roots than soil – it’s time for a repot.
Does pot size matter?
Yes.
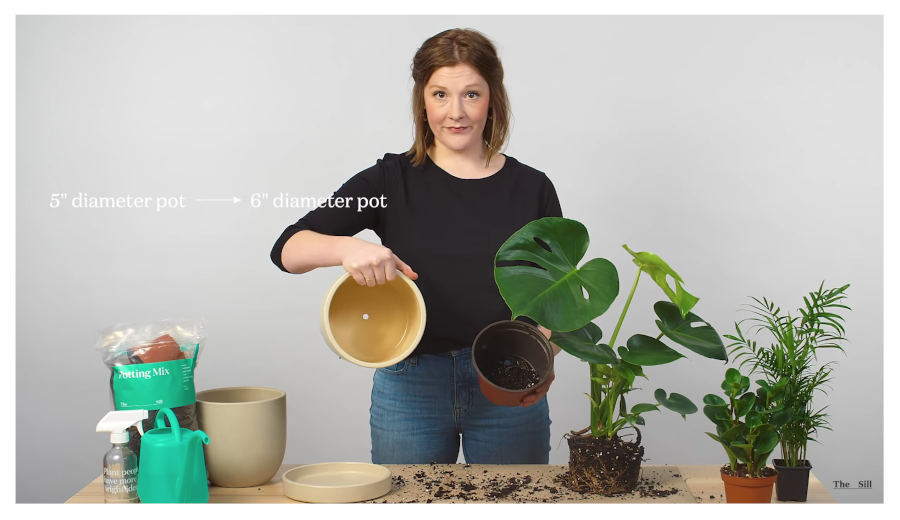
If your plant is growing and needs a bigger pot, choose a pot that is a size (couple of finger widths) bigger than the root ball of your indoor plant. This will encourage your plant to grow because its roots will explore the additional soil space and then the foliage will follow.
However, don’t choose a pot that is significantly larger than the current root ball because then your plant will spend a lot of time growing its roots and not foliage.
What do I need to repot?
Let’s go through what you will need to repot your indoor plants.
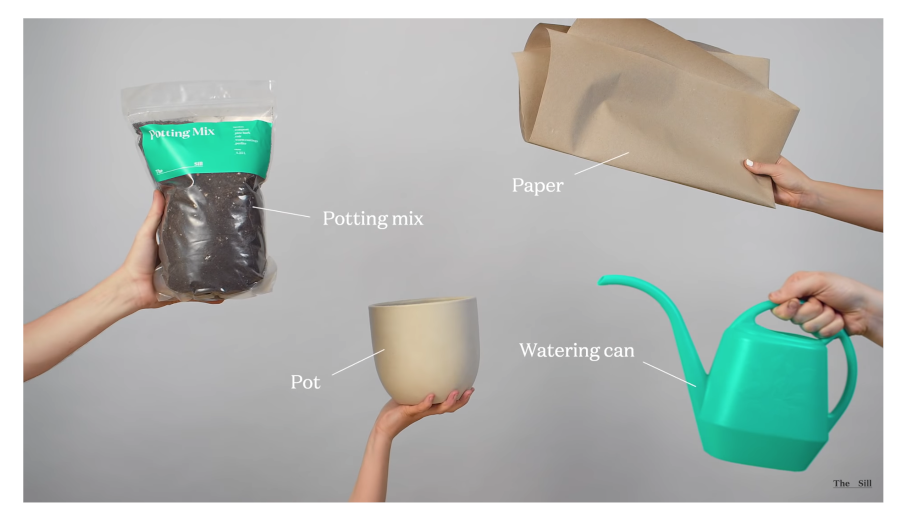
- Your indoor plant
- Your chosen pot – make sure it has drainage holes!
- Potting mix
- Paper or repotting mat
- Indoor gardening tools
Step by step: how to plant indoor plants
Remove your plant from its current pot
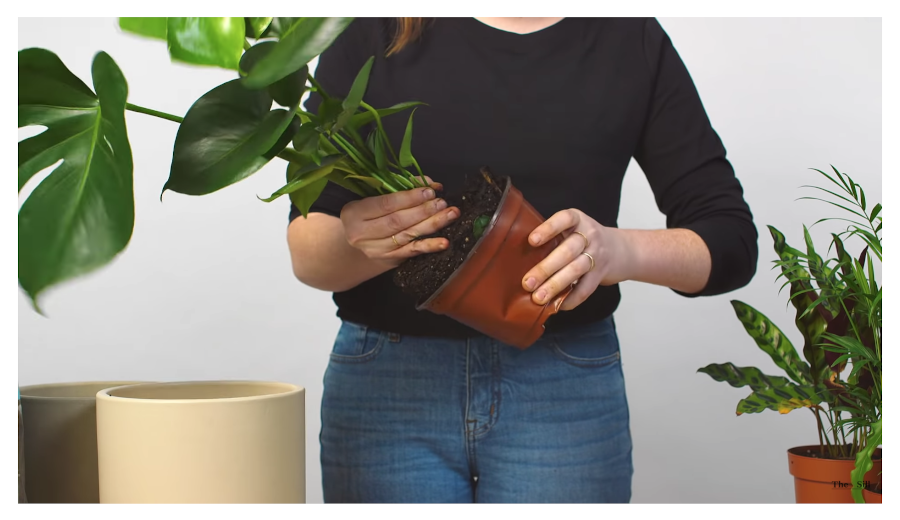
Place your flattened and open palm on top of the soil in your pot with the main stems between your fingers. Turn your indoor plant on its side or almost upside down and tap the rim of its current pot sharply on something until the plant slides out. You might need to give it a bit of help with a couple gentle pulls at the base of the stems. But be careful because you don’t want to break the stems or rip the plant away from its roots.
If the roots are protruding from the drainage holes in the pot, you may need to cut these off first to get the plant out of the pot.
Tease out the roots and remove some old potting mix
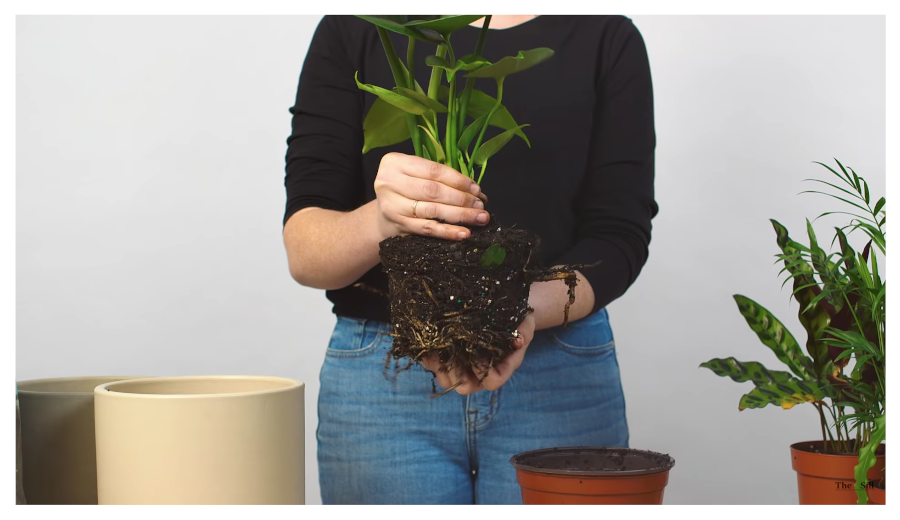
Using your fingers, gently tease out the roots at the bottom and around the sides of the root ball. You want to remove approximately a third of the soil. Prune off any extra long roots. Do not cut off any major or thicker roots, and don’t trim off more than a third of the roots.
You may notice that your plant is root bound with the roots forming circles around the inside of the pot. If this is the case, you want to tease them out as best as possible and give them a trim.
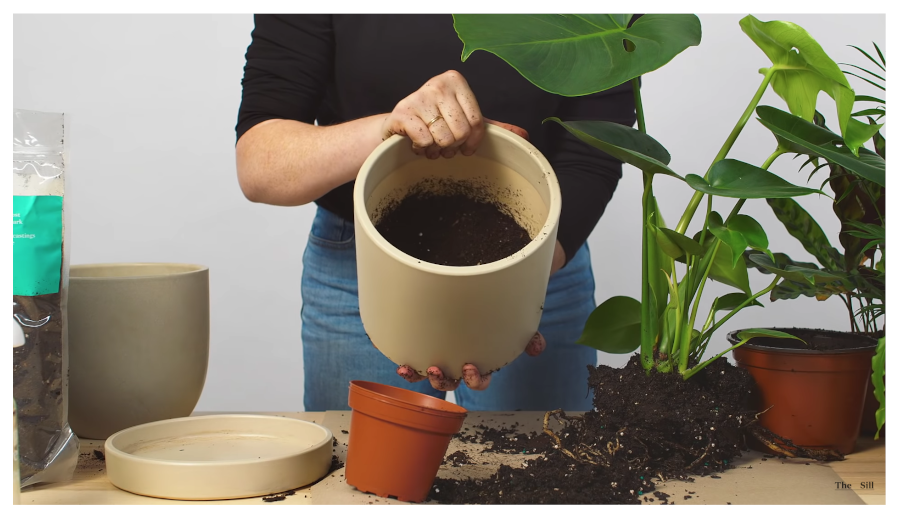
Build a potting mix foundation
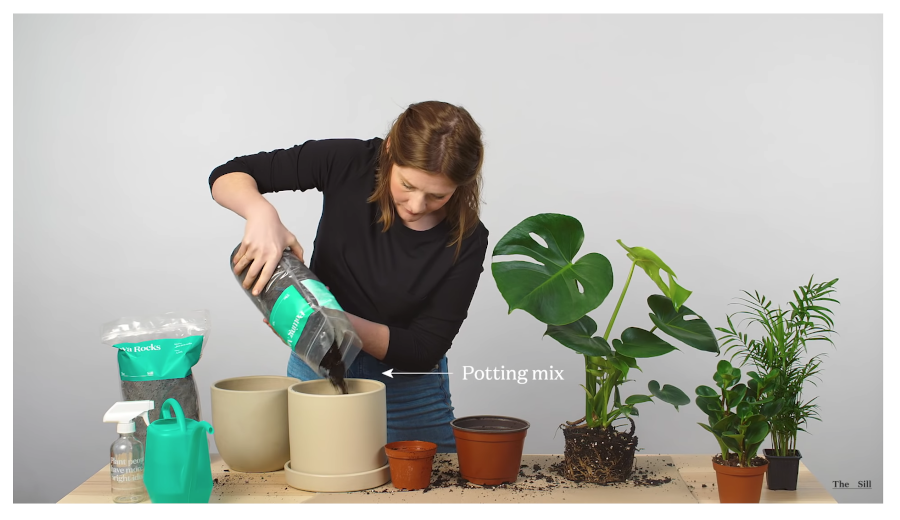
Using new potting mix, build up a layer of fresh potting mix in the bottom of your new pot. Then press it down firmly with your hands to level it out and remove any air pockets.
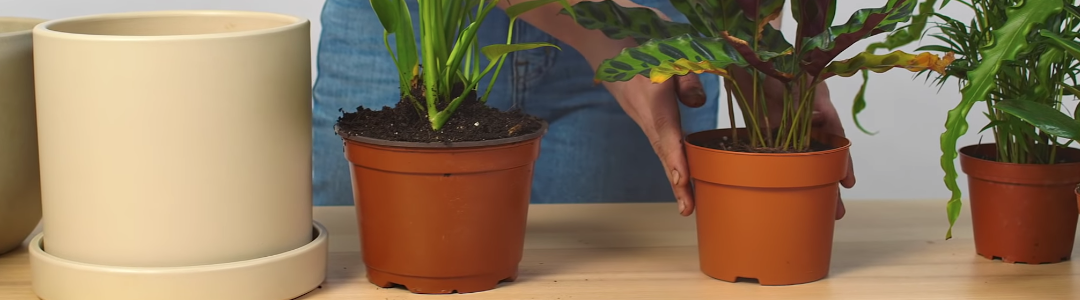
Position your plant
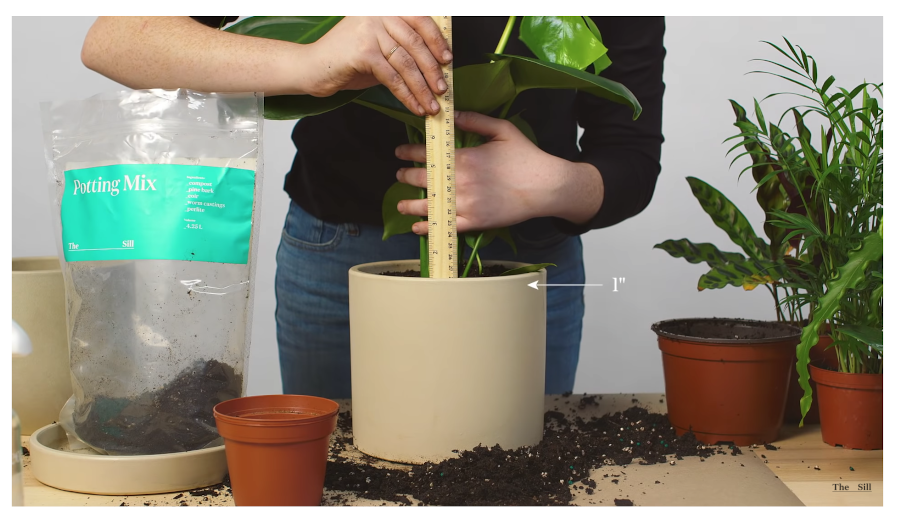
Now you want to grab your indoor plant and position it in the new pot.
You may have to experiment with how much potting mix to place in the bottom of the pot. We want the area where the stems come out of the soil to be approximately 1 inch (2.5cm) below the edge of the pot. It is not exact but err on the side of your indoor plant being slightly lower than higher of this position.
Make sure the plant is centred in the new pot.
Add potting mix
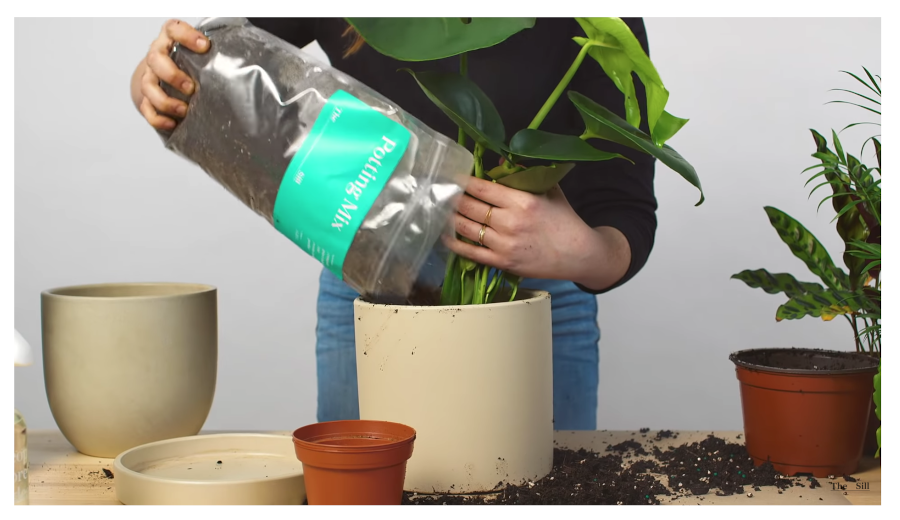
Now add potting mix around the plant. Again, use your hands and fingers to push the potting mix into all of the nooks, remove air pockets and make sure your plant is secure in its new pot. Be careful not to pack too much soil into the pot – you want the roots to breathe.
Water your plant and enjoy
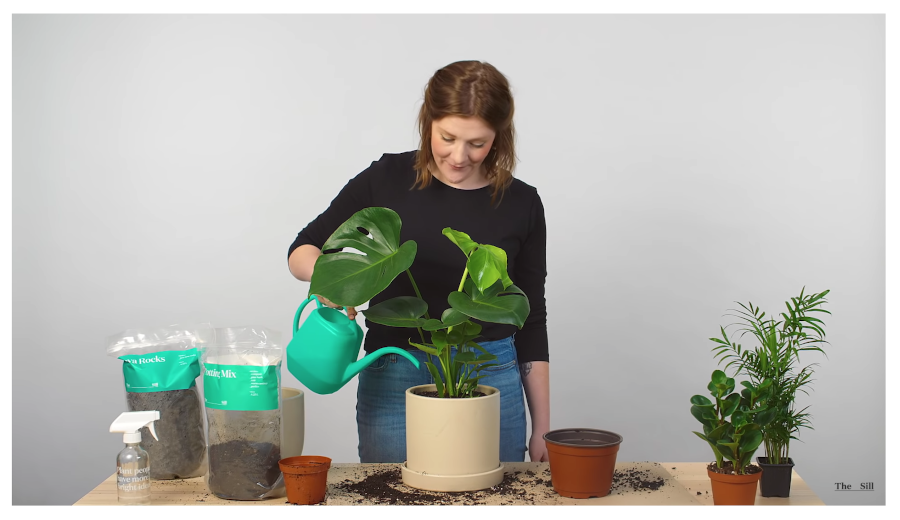
Level out the potting mix around the pot. You can add a layer of decorative pebbles on the top of the potting mix surface if you want to. Now, give your plant a good soaking, and enjoy!
Indoor gardening 101: how to plant indoor plants
You can watch all of these steps in a YouTube video How to plant indoor plants by The Sill. It is simple and shows each of these steps.
Final thoughts
Buying, growing and arranging indoor plants to make an indoor garden sanctuary in your home is a fun and fulfilling activity. Learning how to plant indoor plants is an essential skill to build so that you can keep your indoor plants in tip top condition.
Our indoor gardening 101: how to plant indoor plants guide provides a step by step guide so you can master the art of potting and repotting your indoor plant.
Make sure you check out our other indoor gardening blog posts.
Remember, life is better with indoor plants!